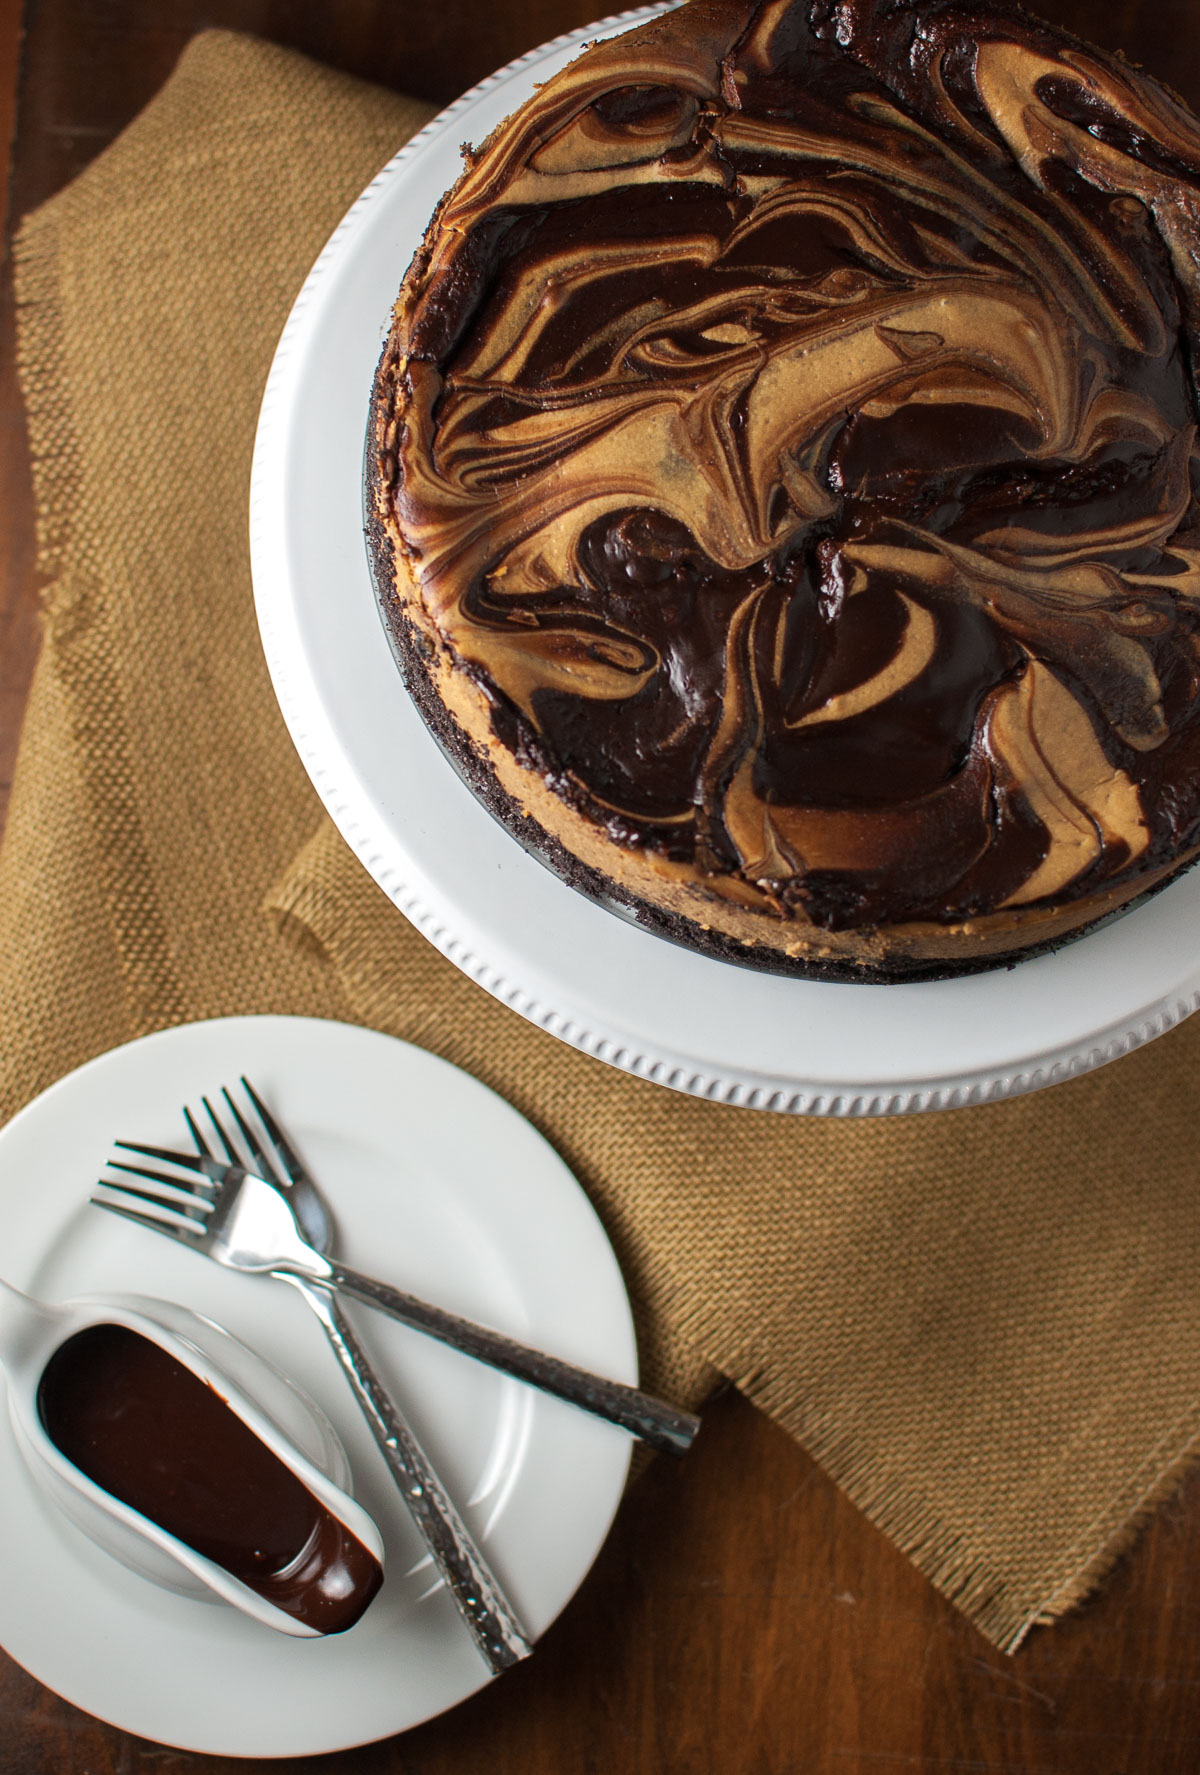
This slightly lightened up cappuccino marble cheesecake with fudge sauce is a rich cheesecake with swirls of cappuccino and chocolate but it’s made with low-fat cream cheese.
- Prep Time:
20 mins - Cook Time:
1 hr 20 mins - Total Time:
1 hr 40 mins
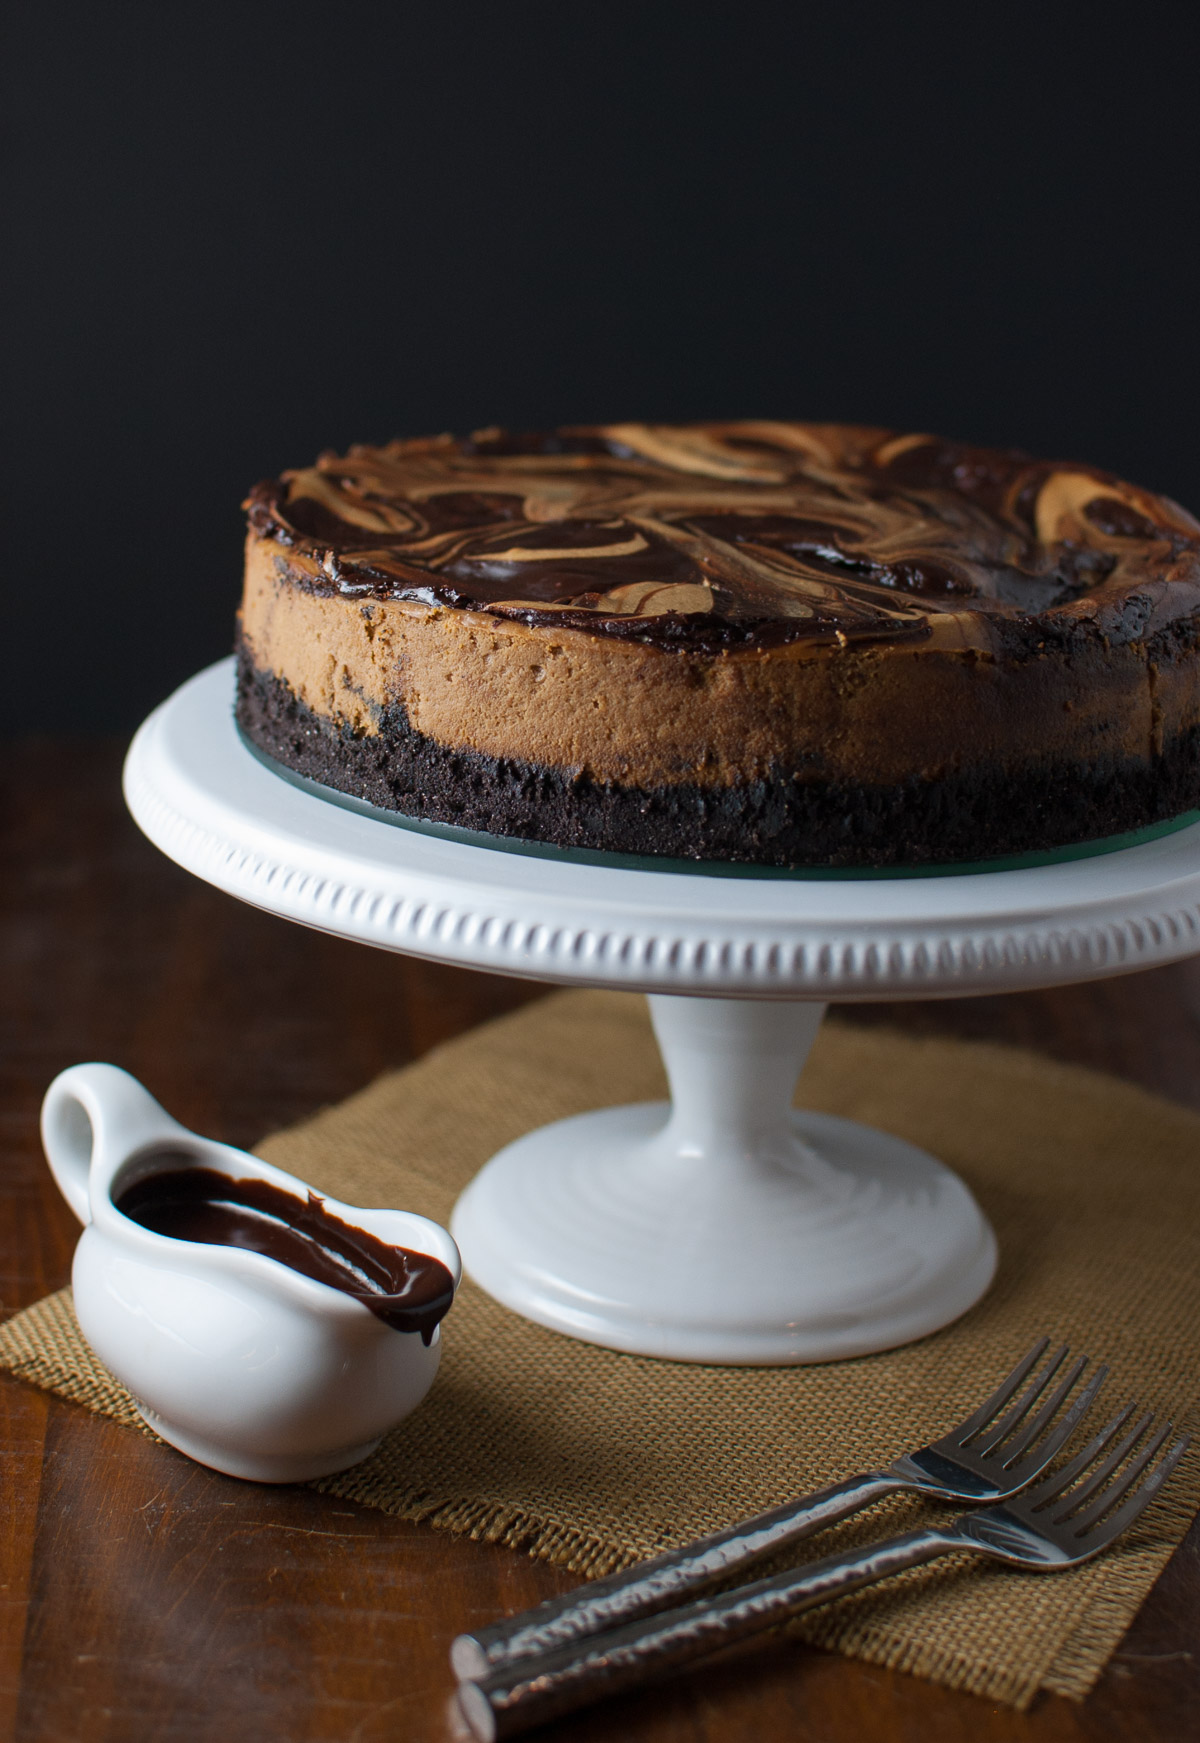
This recipe started out as a low-fat cheesecake but by the time my husband made his adjustments, I am pretty sure it lost its low-fat status. He did leave in the reduced fat cream cheese so you can feel 1/3 less guilty about eating this. I know I did.
And if you feel the reduced calories earns you a special reward, I suggest drizzling on some extra fudge sauce. Or you could just eat the fudge sauce … with a spoon … straight from the container … standing in front of the fridge … while reaching for the ice-cream (not that I have ever done that).
If you’re looking for another lower-fat dessert, try this recipe for low-fat chocolate soufflé.
My husband made this cake to take to the office for a co-worker’s birthday so I was not able to take pictures of any nicely sliced wedges. However, he did bring home the leftovers and I got to taste how good it was.
If you are worried that the reduced fat cream cheese adversely affects the texture in any way – don’t be. This cake is just as luxuriously creamy as any full fat version. You could leave off the fudge sauce if you really wanted to but I am sure you did something today to deserve it, right?
Cappuccino Marble Cheesecake with Fudge Sauce
- Prep Time: 20 minutes
- Cook Time: 1 hour 20 minutes
- Total Time: 1 hour 40 minutes
- Yield: 8-10 servings
- Category: Dessert
- Method: Baking
- Cuisine: American
Description
This slightly lightened up cappuccino marble cheesecake with fudge sauce is a rich cheesecake with swirls of cappuccino and chocolate but made it’s with low fat cream cheese.
Ingredients
For the fudge sauce
- 1/4 cup light corn syrup
- 3/4 cup heavy cream
- 6 ounces chopped semisweet chocolate
For the cheesecake
- 1 1/2 cups chocolate wafer cookie crumbs (about 50 cookies). See Note 1
- 3 tablespoons butter, melted
- 2 tablespoons sugar
- Cooking spray
- 1 cup sugar
- 3 tablespoons all-purpose flour
- 32 ounces 1/3-less fat cream cheese (see Note 2)
- 3 large eggs
- 2 tablespoons instant espresso powder
- 1 teaspoon vanilla extract
- 1/2 teaspoon ground cinnamon
Instructions
For the fudge sauce
- Make sauce. In a medium microwave-safe bowl, whisk together corn syrup and cream. Microwave on high 4 minutes, stirring halfway through. Add in chocolate. Let stand 2 minutes, then whisk until smooth. Set aside.
For the cheesecake
- Prep. Heat oven to 325 degress F. Coat a 9-inch spring form pan with cooking spray.
- Bake crust. Combine cookie crumbs, butter, and 2 tablespoons sugar in a small bowl. Pour mixture into prepared pan and firmly press crumbs into bottom of the pan. Bake at 325 degrees for 10 minutes; cool on a wire rack.
- Change over temp. Heat oven to 450 degrees F.
- Beat together. Place one cup sugar, flour, and cream cheese in a large bowl; beat at medium speed on a mixer until smooth. Add eggs, one at a time, beating well after each addition. Add espresso powder, vanilla and cinnamon; beat well.
- Assemble. Pour cheese mixture into prepared crust; spoon four mounds of fudge sauce (2 tablespoons each) onto cheese mixture; swirl mixtures together using a knife to create a marble effect (be careful not to over mix).
- Bake. Bake at 450 degrees for 10 minutes. Reduce oven temperature to 250 degrees (do not remove cheesecake from oven); bake an additional one hour or until almost set. Remove cheesecake from oven and cool to room temperature. Cover and chill at least eight hours.
- Serve. Cut cheesecake into wedges and drizzle 1 tablespoon fudge sauce onto each wedge.
Notes
- To make cookie crumbs, put the cookies in a food processor and process them until you have fine crumbs. You can also put cookies in a large re-sealable bag, squeeze out all the air, and seal. Then roll a rolling pin over the bag until all the cookies are evenly crushed.
- Use the cream cheese sold in blocks not the cream cheese spread sold in tubs.
- Any leftover fudge sauce can be stored in the refrigerator for a couple of weeks. Warm it up in the microwave before using. The sauce makes an excellent topping for ice-cream.
- Cheesecake recipe adapted from Cooking Light.
- Fudge sauce recipe from Martha Stewart – Everyday Food.
Originally published .

Leave a Reply